
If you’re a new bowler, chances are you’ve felt the need to repair or reuse your bowling ball, and plugging is a key aspect of that process. But how long does it take to plug a bowling ball?
Usually, plugging a bowling ball takes 1-3 hours. But there are also several factors responsible for plugging it. These factors have an impact on its time.
The duration varies based on the skill of the technician, the complexity of the adjustments, and the specific requirements of the bowler. Keep reading this article to know more about the exact time it takes and everything about it.
What is the Average Time to Plug a Bowling Ball?
To plug and re-drill a bowling ball typically takes 1 to 3 hours. The exact time depends on the number and size of plugs needed and how intricate the new drilling pattern will be. The process involves:
- Inspecting the ball to determine which finger holes need plugging and a new layout for the drilling. This usually takes around 15-30 minutes.
- Cleaning and roughing the surface of the holes to provide a “tooth” for the plugs to grip onto, takes 10-15 minutes.
- Mixing and applying the plug material, letting it dry, then shaping and sanding the plugs. Plan on at least an hour for multiple plugs.
- Re-drilling the finger holes and thumb holes in the new layout. This can take 30-90 minutes depending on the ball and the number of holes.
- Final sanding, buffing, and refinishing of the ball’s surface. Add another 30-60 minutes.
So while a single plug and basic re-drill may only take 2 hours, a full restoration with multiple plugs and an intricate new drilling pattern will likely be an afternoon at the pro shop.
But when you’re ready to get back out on the lanes with a ball that’s custom-fit to your fingers, the time will be well worth it!
Why Do Bowlers Plug Bowling Balls?
Why plug a bowling ball? To customize it to your fingers and preferences, of course! Once you find a ball you love, making it fit like a glove ensures maximum control and consistency.
Plugging a ball typically takes a pro shop 1 to 2 hours. They’ll measure your fingers to determine the size and shape of the plugs needed. Then they drill out the holes, clean and rough up the surfaces, apply a bonding agent, and clamp the plugs in place.
While the epoxy hardens, you can grab a snack, run some errands, or get in a practice game. When you return, they’ll shape, smooth and polish the plugs. Finally, they’ll re-drill the finger holes and thumb holes to the proper size and fit for your hand.
Voila – your once loosely fitting ball now feels custom made. With a snugger grip and release, you’ll have more accuracy and power. Plugging a cherished ball breathes new life into it, so you can keep improving your game without needing a replacement. For serious bowlers, it’s well worth the investment.
How to Prepare Your Bowling Ball for Plugging
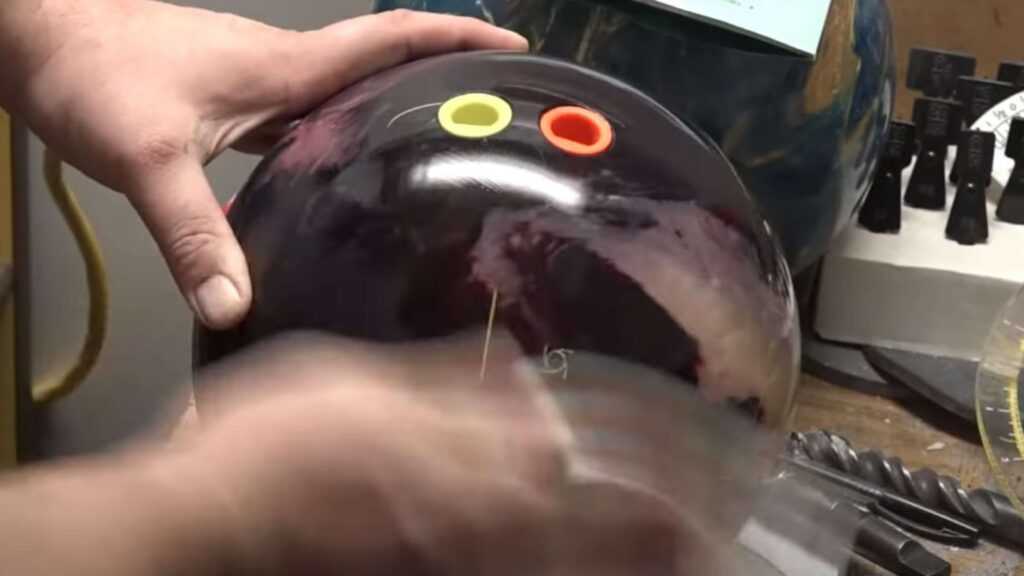
To prepare your bowling ball for plugging, follow these steps. Begin by removing any existing finger inserts. It ensures a clean surface for the plugging process.
Make sure your ball is clean before dropping it off at the pro shop. Wipe down the exterior of the ball to remove any dirt or oil. Cleaning the ball will allow the pro shop technician to clearly see the holes and any damage to determine what needs to be done.
Bring accessories like thumb slugs, inserts or tapes that you currently use with your ball. The pro shop can replicate the sizes and shapes to ensure the best fit once the ball has been plugged and redrilled.
Discuss how you want the holes to be plugged and redrilled. Do you want the finger holes slightly larger or smaller? Deeper or more shallow? The pro shop can adjust the drilling to improve your grip and release. Provide details on how you hold and release the ball so the technician can determine the best drilling for you.
Leave your ball at the pro shop for at least 2 to 3 days. The time required will depend on the number of holes and the material used to plug them. Urethane plugs need more time to dry than epoxy plugs. The pro shop can give you an estimate for when your ball will be ready for pickup based on the type of plugs and time required for them to dry.
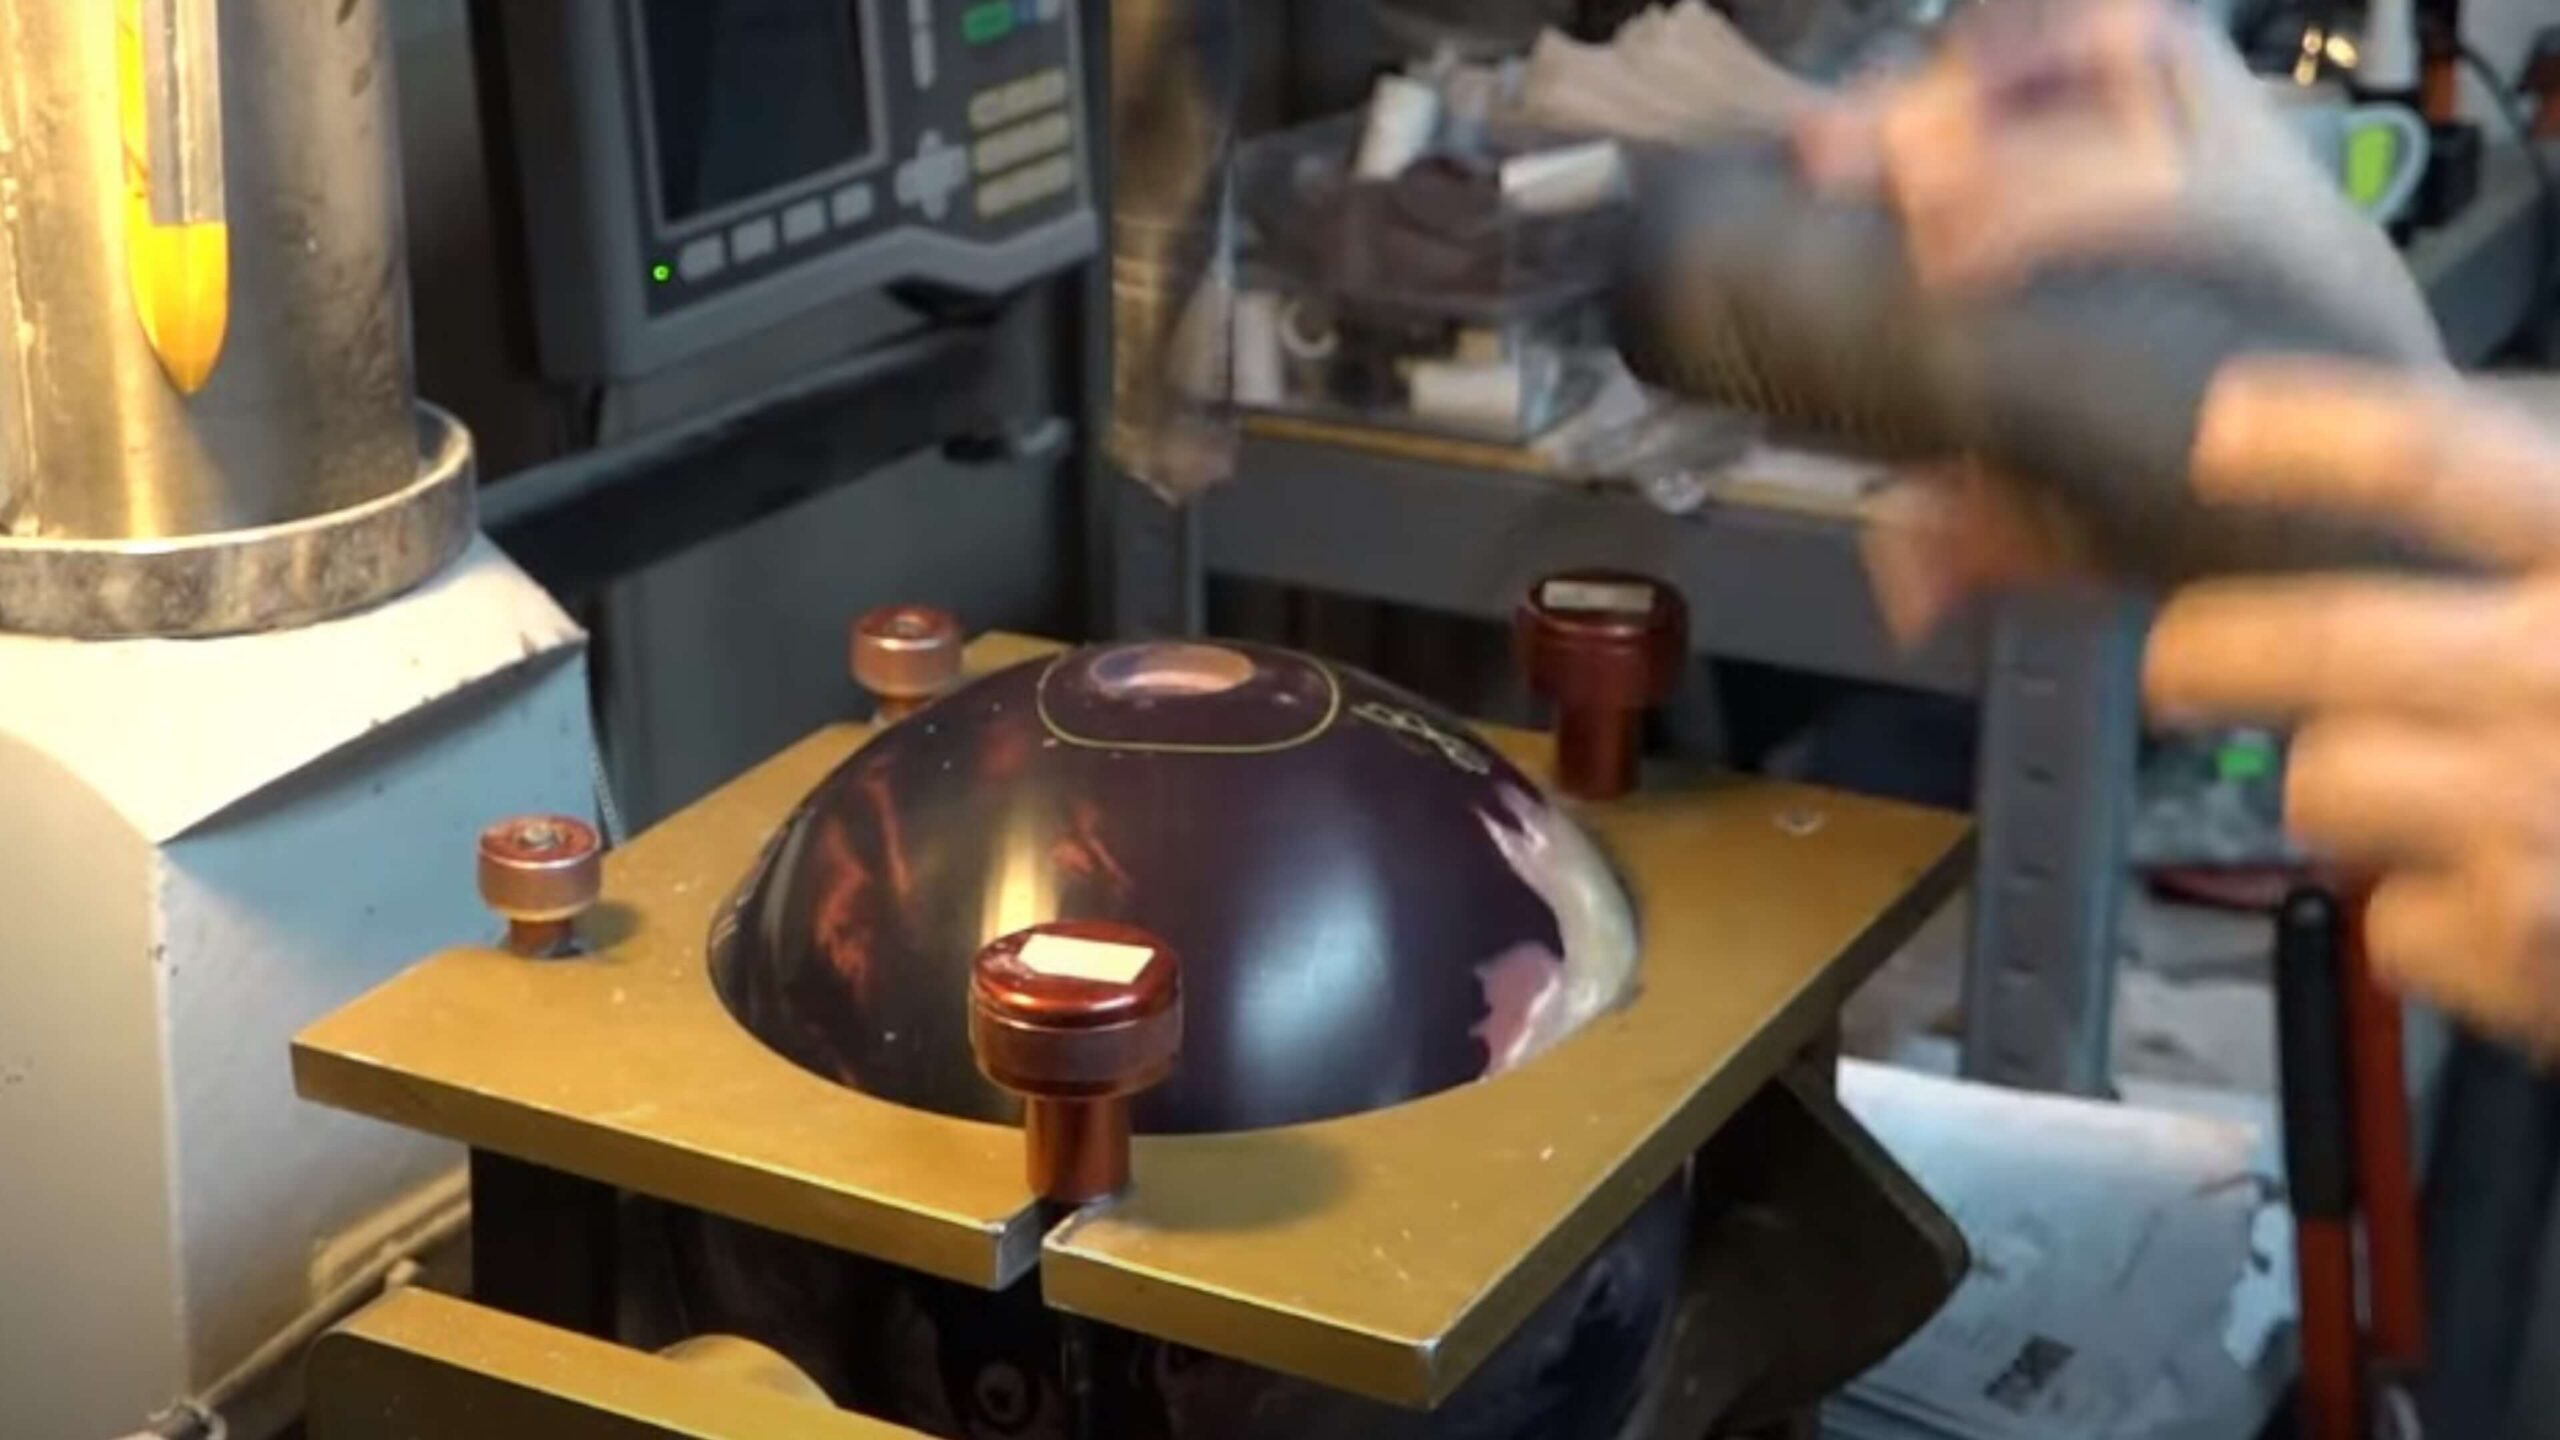
Step by Step Guideline to Plug a Bowling Ball
If you want to plug your bowling ball, there are some steps you need to follow. Here we’ll share how you can plug a bowling ball. So, keep reading:
Gather Materials:
Ensure you have a bowling ball plug kit, a drill press, safety glasses, and a dust mask.
Prepare Work Area:
Set up a clean, well-lit workspace with adequate ventilation.
Secure Bowling Ball:
Use a ball jig to secure the ball in place on the drill press. Ensure it’s stable and won’t move during the process.
Mark Hole Location:
Determine the location of the plug by marking the area with a pencil or masking tape. This is typically where you want to cover an existing hole or make a new one.
Drill Hole:
Use the appropriate drill bit from the kit to create a clean and precise hole. Follow the manufacturer’s instructions for RPM settings.
Clean Hole:
Remove any debris or dust from the drilled hole using a vacuum or compressed air.
Mix and Apply Filler:
Mix the plug material according to the kit instructions. Fill the hole, ensuring a smooth and even surface.
Shape and Sand:
Once the filler has cured, use sandpaper to shape and smooth the plugged area to match the ball’s surface.
Finish:
Wipe the ball clean and polish it to restore its original finish.
By following these steps, you can effectively plug a bowling ball and maintain its optimal performance.
Factors Affecting the Time it Takes to Plug a Bowling Ball
There are some key factors that determine how long does it take to plug a bowling ball. Here are those factors:
Access
Do you have easy access to a pro shop to have the work done, or will you need to ship the ball off to be plugged? Having the work done locally will save time, while shipping will add at least a week or more to the process.
Damage Level
Minor surface cracks will take less time to repair than large chunks broken out of the ball. The more extensive the damage, the more time required to clean, fill and sand the area.
Filling Method
Using a premixed color compound that closely matches your ball will save time over having a custom mix created. Sanding and buffing a premade fill also takes less time. More complex fills, especially those requiring multiple layers and colors, can add hours to the job.
Drying Time
The fill material used needs time to fully harden before the ball can be sanded and finished. Epoxy or urethane fills may require 24 hours or more to dry completely. Faster- setting fills can reduce waiting time.
Finishing
Final sanding, buffing and polishing the filled area requires additional time. For the best results, multiple grades of sandpaper are used to smooth the area, then buffing pads to bring back the shine. More coats of polish and longer buffing time will increase the total time to complete the plugging job.
Post-Plugging Aftercare: Important Considerations for Optimal Results
There are a few key things to keep in mind to ensure the best results. Follow these tips to get the best possible result after post-plugging.
Let It Set
Give the plug material at least 6-8 hours to fully cure before drilling any new holes or using the ball. The plug compound needs time to harden to prevent cracking. Be patient-your ball will be ready to go again before you know it.
Resurface If Needed
If the plug protrudes from the ball surface or isn’t smooth, you’ll want to have it re- surfaced by a pro shop. They can sand down the area and re-polish it to match the ball surface. This step isn’t always needed but will provide the most seamless result.
Break It In
Take it slow the first few times using your newly plugged ball. Start with just a few frames to ensure the plug is secure and make any final adjustments to fit or drilling before hitting the lanes hard. Easing into it will help the plug last longer.
Ongoing Maintenance
Keep an eye on the plug over time to ensure it remains securely in place and flush with the ball surface. Re-plugging or resurfacing may eventually be needed as the ball ages and continues to be used. Basic ball cleaning and maintenance will also help maximize the life of the plug.
Final Thought
Now you know how long does it take to plug a bowling ball. While the process may seem complicated, as long as you find a pro shop you trust and communicate exactly what you want, they’ll get your ball plugged and ready to roll in no time.
The key is not to get frustrated if it’s not perfect the first time. Plugging a ball requires precision and patience. But once you get it right, you’ll be curving strikes in no time and wondering why you didn’t get your ball plugged sooner. Thank you all for reading this article.