A bowling lane layout diagram illustrates the structure of a standard bowling alley. It shows the pins, lane dimensions, approach area, and foul line clearly.
Understanding the layout of a bowling lane is essential for both novice and seasoned bowlers aiming to master the game. A typical bowling lane is 60 feet long from the foul line to the head pin and 41. 5 inches wide.
The diagram details key components, such as the gutter, arrows, and pin positions, which are critical for bowlers to align their shots. The approach area, usually 15 feet long, is where players gain momentum before releasing the ball. The diagram often also indicates the pin numbering, from 1 to 10, which is fundamental for discussing play strategies. Consulting a layout diagram helps bowlers visualize their moves and adjust their techniques for better performance on the lanes.

Credit: www.pinterest.com
The Anatomy Of A Bowling Lane
A bowling lane is a special place where players roll balls. It has specific sizes. The lane is about 60 feet long and 41.5 inches wide. It includes the arrows and dots that players use to aim.
On each side of the lane, there are gutters. These are channels where balls may fall. It is important to avoid the gutters to score points. The approach area is where players start. This area is at least 15 feet before the lane. It helps players to prepare and aim.
Lane Markings: Reading The Hidden Clues
The bowling lane is not just a slick surface; it’s a roadmap for bowlers. Dots and arrows guide the ball to the pins. These markings help in aiming and adjusting your shots. Bowlers align their feet with the dots on the approach area.
The lane also has arrows about 15 feet from the foul line. Aiming your throw at these arrows can improve accuracy. Players use the arrows more than dots for direction. Think of boards as lines on a notebook. Each board helps with precise movements.
The lane splits into zones. Each zone tells where the ball should travel. Good players look for these clues. They adjust their stance and throw for better scores. Zone knowledge is key for consistent results.
The Importance Of The Oiled Patterns
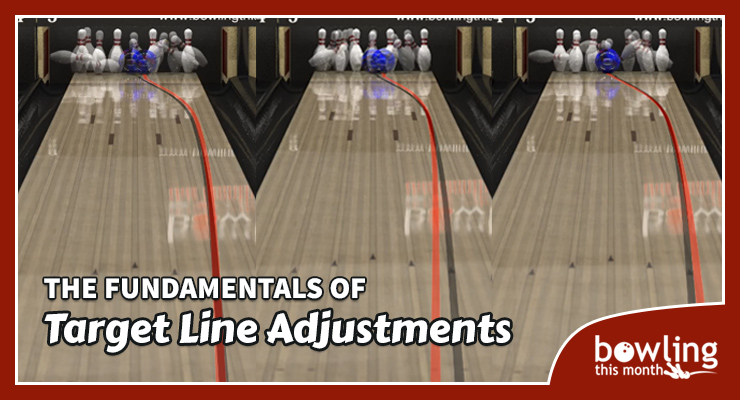
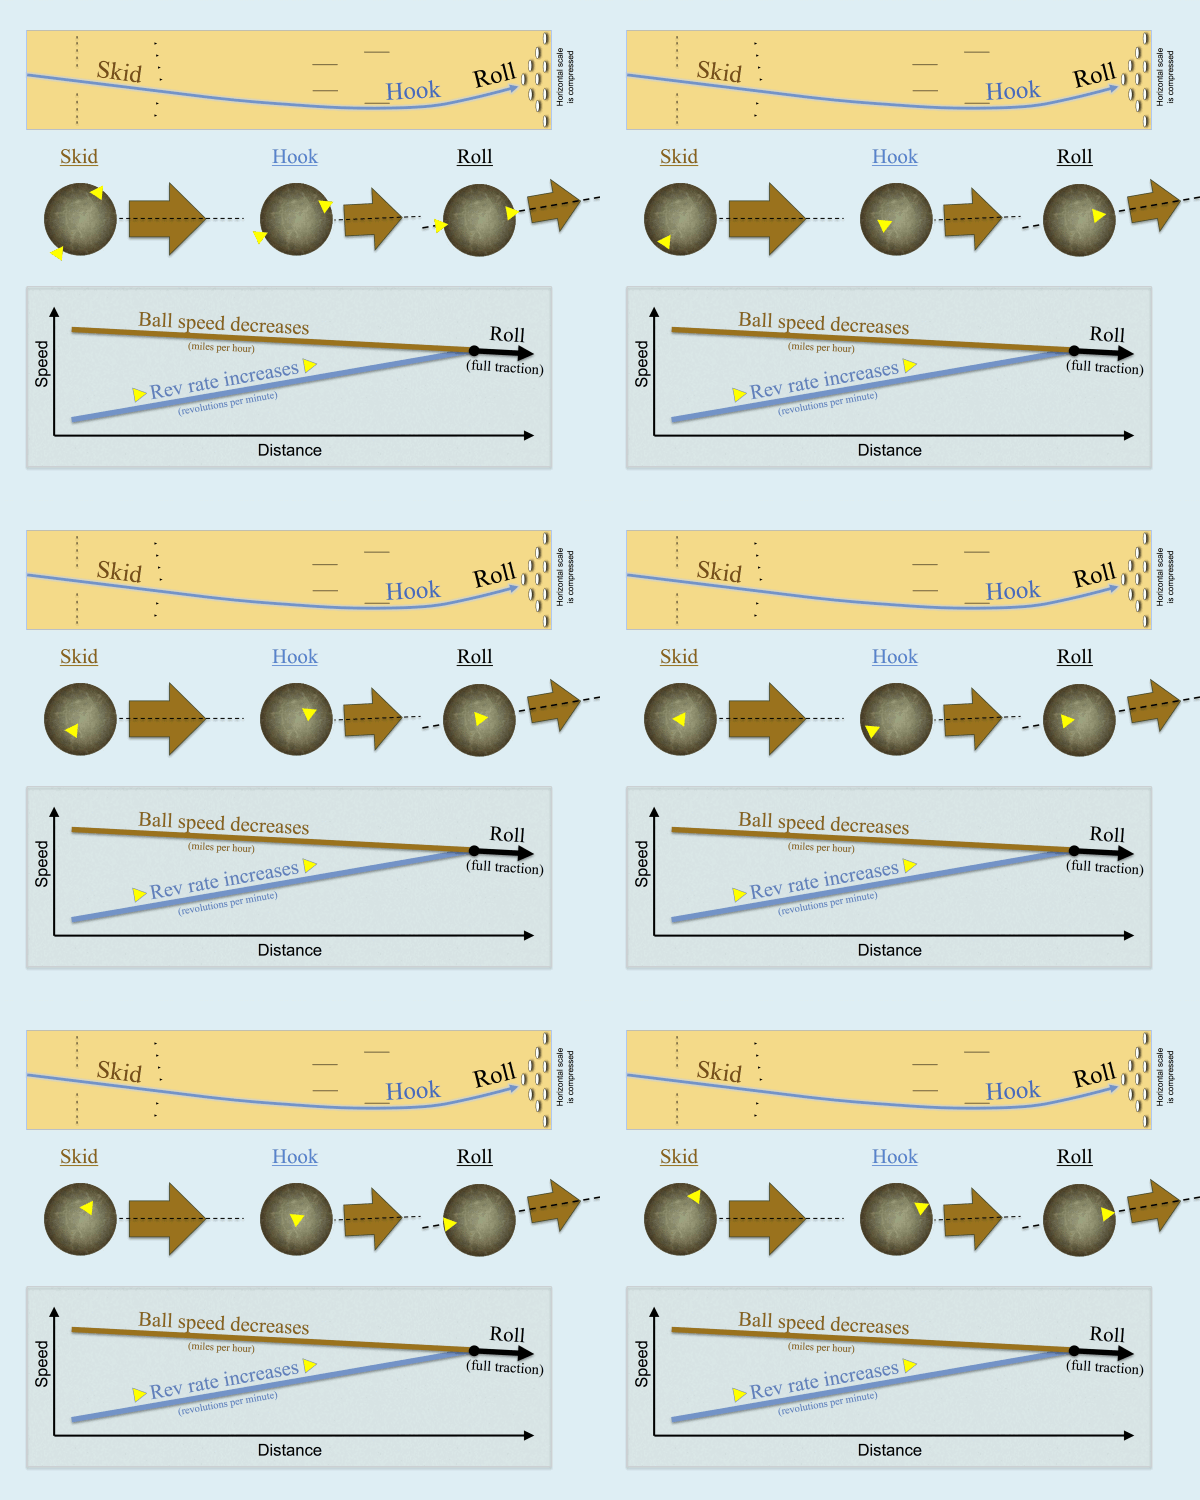
Understanding oil types and their distribution on a bowling lane is key. Different oils offer varying levels of friction. Lanes have heavy oil concentrations in some parts. Other parts have lighter oil applications. This affects how the ball rolls.
Bowlers need to observe the oiled patterns. This can guide your choice of balls. It also influences your bowling technique for better scores. For instance, a lane with more oil in the center may require a straighter throw. Conversely, less oil along the edges can mean angling your shots differently.
| Oil Type | Ball Behavior | Strategy Tips |
|---|---|---|
| Heavy Oil | Slower Ball Movement | Opt for a ball with more grip |
| Light Oil | Faster Ball Movement | Choose a smoother ball surface |

Credit: www.bowlingthismonth.com
Perfecting Your Stance And Delivery
Perfecting your stance before the delivery is crucial. Stand with your feet shoulder-width apart. Balance your body weight equally on both feet. Hold the ball at waist level. Align your shoulder with your target on the lane. It’s essential to stay relaxed.
The approach requires precise timing and footwork. Begin with a small step with your dominant foot. Continue with the opposite foot for the second step. The third step matches the first in size and pace. The final step is a slide with the non-dominant foot. This slide helps you glide and release the ball smoothly. Keep your eye on the target throughout your steps.
Tips And Tricks For Consistent Strikes
Selecting the right bowling ball is crucial for a great game. Your ball’s weight and grip affect your control. Look for a ball that feels comfortable and not too heavy. The holes should fit your fingers snugly.
Mastering your swing and release also leads to higher scores. Keep your arm relaxed and swing smoothly. Release the ball close to the ankle for accuracy. Practice to maintain the same form each time. This helps you strike consistently.
Understanding Pin Placement
Understanding pin placement on a bowling lane is key for players. Each pin has a specific number, from 1 to 10. The pins are set in an equilateral triangle. The point of the triangle points towards the bowler.
The 1-pin is at the tip and called the headpin. Behind the headpin, pins 2 and 3 form the second row.
In the third row, pins 4, 5, and 6 increase your chance to hit them. The fourth row has pins 7, 8, and 9.
Last, pin number 10 stands alone at the back.
Different pin configurations can affect your bowling strategy. Some layouts help more than others. For success, learn the best way to hit each pin. Practicing different shots is the key here.

Credit: en.wikipedia.org
FAQ
What Are The Dimensions Of A Bowling Lane?
A standard bowling lane is 60 feet long from the foul line to the headpin. Its width is 41. 5 inches for the lane itself. Regulation lanes have 60 feet from the foul line to the center of the headpin.
How Are Bowling Lanes Constructed?
Bowling lanes are made from maple and pine wood or synthetic materials. The first 12 feet is hard maple, the middle is pine, and the last 2 feet are maple again. Synthetic lanes mimic this pattern with durable overlays.
What Marks Are On A Bowling Lane?
A bowling lane features several key markings. Arrows are located around 15 feet from the foul line, and the dots assist players in positioning. Both are used for aiming and aligning shots. Down-lane dots mark the breakpoint area.
How Many Boards Are On A Bowling Lane?
A bowling lane is divided into 39 boards, each 1. 06 inches wide. The boards are used for precise aiming, with bowlers typically targeting specific boards for their shots.
Conclusion
Understanding the bowling lane layout is crucial for enthusiasts and pros alike. This diagram guide simplifies mastery of the game. Now you’re equipped to strategize and score big. Embrace this knowledge, bowl with confidence, and watch your game improve. Ready to roll a strike?
Let’s hit the lanes!
