What color is your bowling ball? How does it look? Do you like the look of your bowling ball? No problem if you are not fond of it, you can change the ball in a day by painting it. But you can’t just buy some random paint and jump straight to painting.
Without proper bowling paint and knowing the correct method, you can make a mess. Here we are to guide you on how to paint a bowling ball and make the ball outlook awesome. Check the guideline to make your bowling ball look cool. Well, let’s see our suggestion about painting your own bowling ball on your own.

Why Do People Paint Their Bowling Ball?
The same answer goes for painting anything to make the bowling ball looks better. Not only a bowling ball but anything looks astonishing if you paint. You know, Color is a wonderful creation of nature.
It enlivens everything. Many people don’t like the glossy, dull look of the bowling ball. And some of them even consider painting the ball an art form and spend many hours of their time learning how to paint and paint some intricate designs.
How to Spray Paint Bowling Balls – Step-by-Step Guideline
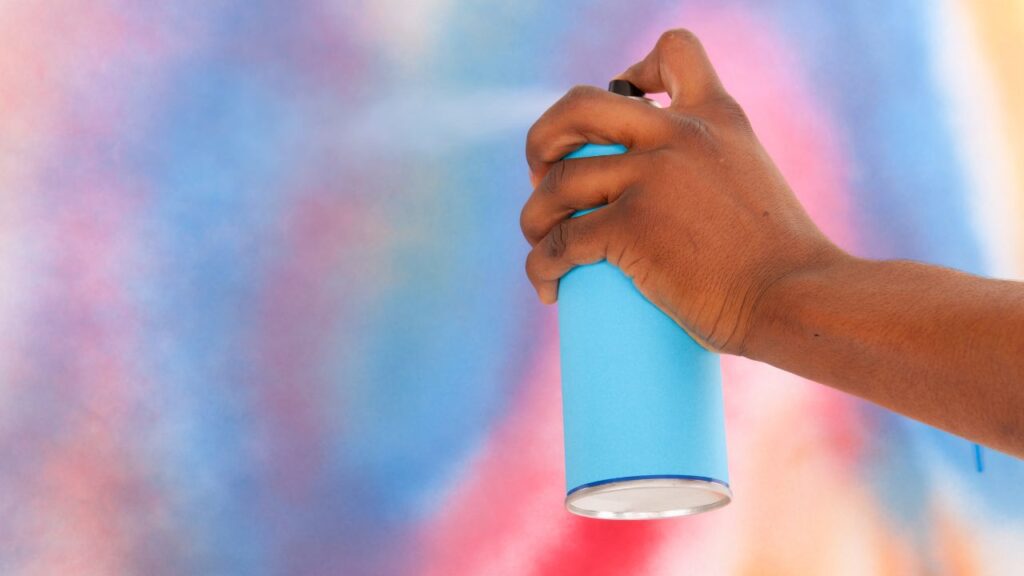
Maintaining only 6 steps you can spray-paint your ball. Let’s discuss:
1. Preparing the Surface
Preparing the bowling ball’s surface is one of the most important factors affecting the look of the ball. The surface can affect how the paint will look when it dries. You can use spray adhesive and wipe it down on the visible surface with rubbing alcohol (the alcohol concentration should be 70% or higher).
Also, use some kind of release agent to prevent your fingers from sticking, as painting may cause scratches or smudges in your fingers. You can use a glass candlestick for keeping the ball. That will save your hands. And will be convenient to paint the ball on all sides by turning it easily.
2. Choosing the Right Tools
Let’s talk about the right kind of paint you may need. Acrylic paint can be an excellent choice for you. We recommend acrylic paints mixed with Liquitex Heavy Body Artist Professional Series Medium. These high-quality paints can create a vibrant, durable look for a long time in indoors or outdoors.
3. Choosing the Colors
You should think twice before choosing a color. You should use some cool colors. Like, Burnt Sienna, Cadet Blue, Vermillion Red, Cobalt Teal, Raw Umber, and Titanium White. It will keep your eyes and mind calm while playing
4. Mixing the Paint
Now, you must keep in mind how much paint you will need because the colors should be mixed up to consist of one ounce of mixture per color. Mixing the paint is time-consuming, so try to not mix the paint. For example, mix some neon green with a bit of white and black paint if you want a light green. But the more you put black and white paint, the more the mixture will turn green.
5. Applying Coating
An old toothbrush can be a cheap tool to apply one coat of white acrylic paint to the bowling ball. It can act as an undercoat for all future coats. Also, it can give you the chance to add different colors of paint later and also helps you in the baking or sealing process.
6. Final Step
Now, you should bake the balls after drying them overnight. Follow the package directions and ensure they are entirely cool because you wouldn’t want hot plastic in your fingers. There’s no need to keep the bowling ball surface coating completely smooth. Spray polyurethane to seal the ball with protection against dust or liquids and avoid leaving any paint peeking through. When the coat of polyurethane becomes dry, you can start painting.
Acrylics have an extensive range of available colors in oil and spray form, and no mixing is required. Acrylics may not be suitable for furniture, but they hold up pretty well in bowling balls. You have to mix the colors on a palette before applying them if you opt for oil paint. A clear plastic tray and sectioned trays can help keep track of the used dye. When you focus on painting one side at a time, try to refrain from doing any swirls or detail work. Make sure both sides are painted in order.
Otherwise, there’s a chance of getting them mixed. If you make a mistake, wait until both sides are dry. Then, use 180-grit paper to sand away the mistake. Once you have finished painting everything, dry the balls outside for at least one day or more in case of cold weather. If you try to work on the balls before drying them, you may remove paint or make scratches. Also, for a quick-drying finish, use lacquer thinner containing no more than 20% acetone. Two coats of clear lacquer to each ball are enough. And that’s how you will get some fresh and shiny bowling balls that will look great anywhere.
Painting Precautions
- Don’t forget to clean and dry your ball first; otherwise, the ball won’t have a nice coat of paint.
- You need to find an area to paint which is well-ventilated. Otherwise, fumes will get into your lungs. You may use a mask while painting. And if you want no dripping of the paint on your carpet, do the work outside the house.
- It’s better to do multiple coats than one thick coat while painting. It can prevent the overly thick look, making the ball look old.
Conclusion
Depending on the skill set, painting a bowling ball can be easy or take some practice. Whatever time it may cost you, painting bowling balls is always fun. And we hope our suggestions may make your painting experience even better.
